
UPS Shipping Account Setup Guide
The UPS Shipping Account is required when using UPS shipping, rating and addressing services.
Shipping Connector invokes those services from its shipping features in Business Central, or from the Shipping Connector Desktop Shipper application.
If you already have a UPS Shipping Account (a six digit number) then you can skip to Step 3 - Authorization.
Note: We make an effort to keep this guide up to date however the dynamic nature of the web makes it difficult to stay in sync.
If you run into any discrepancies with this guide please point them out to us via our Support Page.
Step 1 - Create a UPS.com Login Account
A UPS.com Login Account is required in order to register for a UPS Shipping Account.
If you already have a UPS.com Login Account, verify that you can login, then proceed to Step 2.
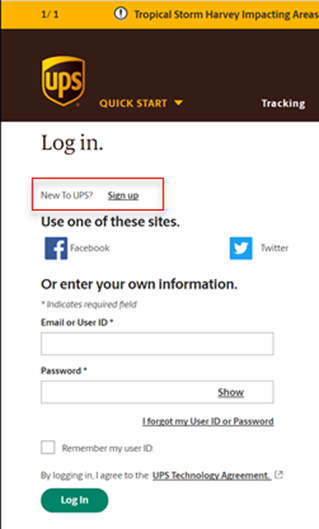
Point your web browser to UPS.com login.
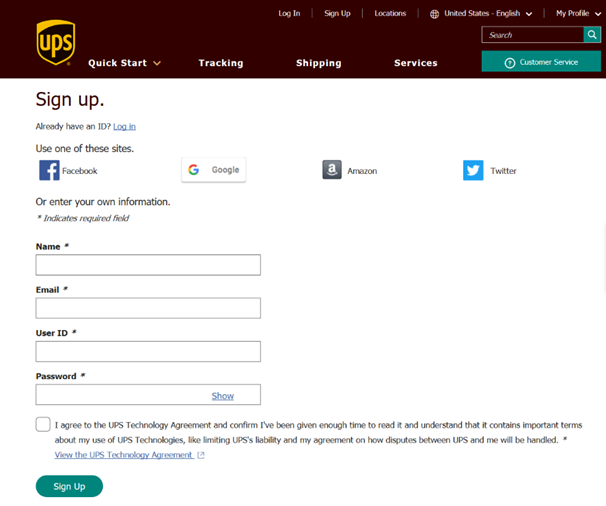
Click the ‘Sign up’ link and complete these forms.
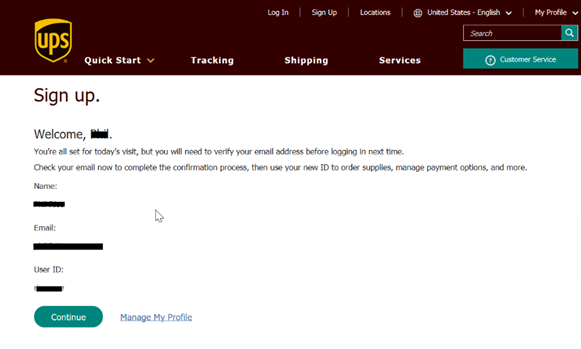
When you press Continue on the last dialog you will be asked questions about your account – answer as appropriate to complete UPS.com Login Account creation.
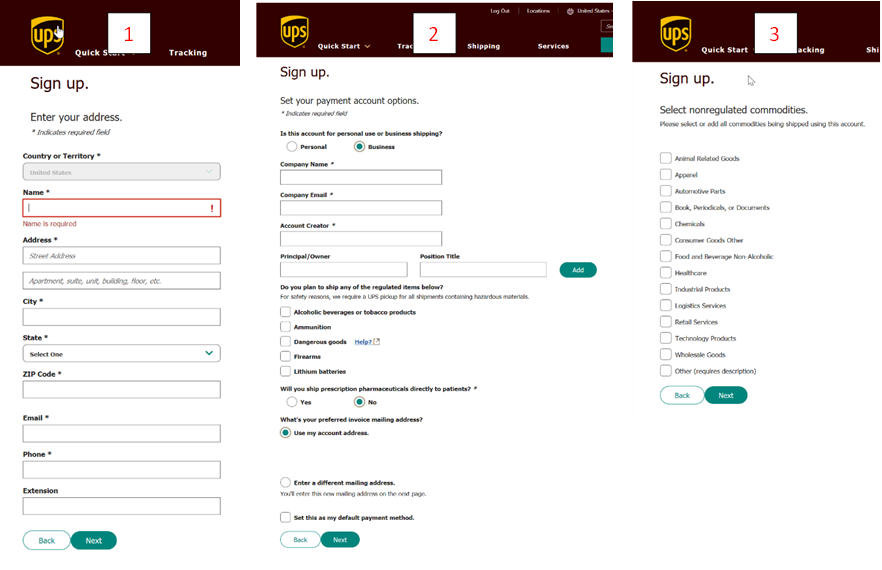
Step 2 - Create a UPS Shipping Account (aka, Payment Account)
To create a UPS Shipping account, point your browser to UPS Payment Account.
You will need to login with the account created in Step 1.
Fill in the details for each dialog (1-6)
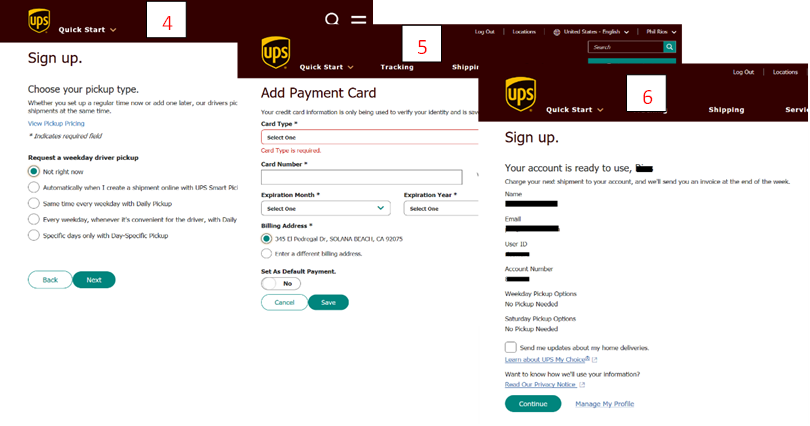
After completing the registration, you will receive an email with your account details.
Proceed to Step 3.
Step 3 - Authorize use of your UPS Account
In Business Central
Open the Shipping Connector Shipper Accounts page.
Shipping Connector Setup > menu, Administration > Shipper Accounts
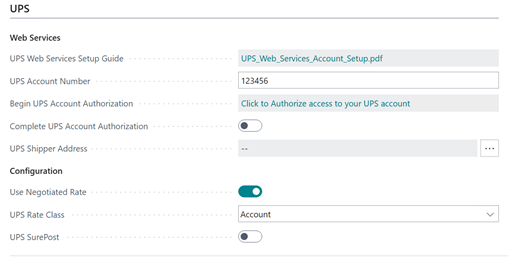
Enter your UPS Shipping Account number.
Click the Authorization link.
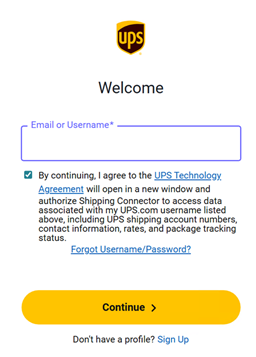
The UPS login/approval dialog will display.
Login to UPS.
The Shipping Connector confirmation page will display.
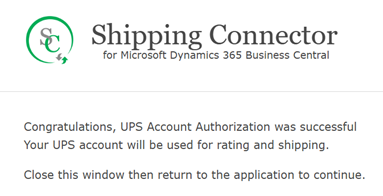
Toggle Complete UPS Authorization on.

UPS is now configured for use with Shipping Connector in Business Central.
In the Desktop Shipper app
Open Desktop Shipper.
Select the Shipper tab.

Select Production Shipping mode, and a Shipper configuration.
Select the UPS Shipping Agent.
Enter the UPS Shipping Account number and click the Save button.
Click the Authorize button.
The UPS login/approval dialog will display.
Login to UPS.
The Shipping Connector confirmation page will display.
Close the page and return to the Desktop Shipper app.
Click the OK button.
UPS is now configured for use with the Desktop Shipper application.
Troubleshooting
Sometimes authorizations expire or become stale and need to be refreshed.
When an authorization expires, you will see related errors when shipping.
Shipping Connector will attempt to automatically refresh the authorization.
However, that is not always possible, in which case you will need to repeat Step 3.